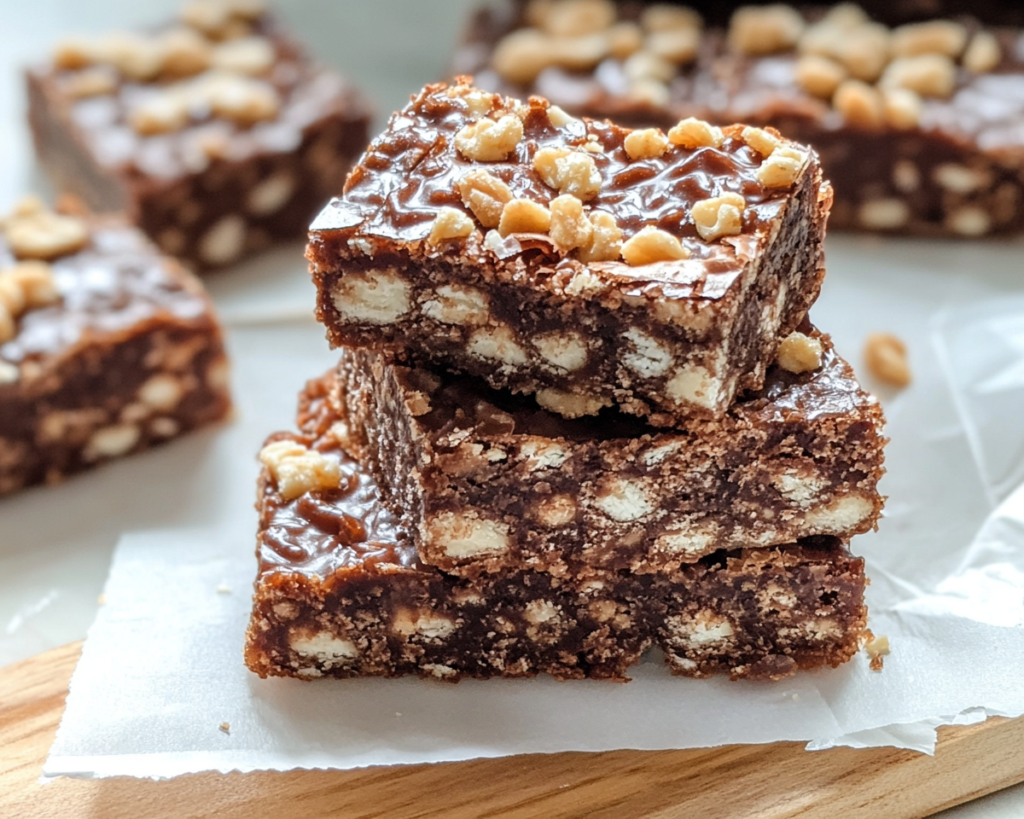
Crunch Bars have been a go-to treat for chocolate lovers for decades, thanks to their combination of smooth chocolate and crispy puffed rice. While the store-bought version is convenient, making homemade Crunch Bars is an easy and fun way to customize the ingredients and control the sweetness. In this article, we’ll show you how to make your own Crunch Bars with just a few simple ingredients, and we’ll explore some creative variations to suit your taste.
Why Make Homemade Crunch Bars?
Making homemade Crunch Bars allows you to adjust the ingredients to your preferences, making them healthier or more indulgent based on your choice of chocolate and mix-ins. Plus, it’s a quick, no-bake recipe that’s perfect for a fun family project or when you need a last-minute treat.
Benefits of Homemade Crunch Bars:
- Control the Ingredients: You can use higher-quality chocolate, reduce the sugar, or add healthier mix-ins like nuts or seeds.
- Customizable Flavors: You can experiment with dark, milk, or even white chocolate, and add different textures or flavors.
- Fun to Make: This is an easy, no-bake recipe that’s perfect for both kids and adults to make together.
Homemade Crunch Bars Recipe
Ingredients:
- 2 cups of chocolate chips (milk, dark, or white – your choice)
- 1 cup of puffed rice cereal
- 1 tablespoon of coconut oil (optional, helps chocolate melt smoothly)
Instructions:
- Melt the chocolate: In a microwave-safe bowl, combine the chocolate chips and coconut oil. Microwave in 30-second intervals, stirring after each, until the chocolate is fully melted and smooth.
- Mix in the puffed rice: Once the chocolate is melted, stir in the puffed rice until it’s fully coated in chocolate.
- Spread the mixture: Pour the chocolate and rice mixture into a parchment-lined baking dish (8×8 or 9×9 works best) and spread it evenly.
- Chill the bars: Place the baking dish in the refrigerator and let the bars chill for about 30 minutes or until the chocolate is firm.
- Cut and serve: Once the bars are fully set, remove them from the fridge, cut them into squares, and enjoy!
Tips for Success:
- Customize with add-ins: For a twist, add ingredients like chopped nuts, dried fruit, or a sprinkle of sea salt for a gourmet version of Crunch Bars.
- Use quality chocolate: The type of chocolate you use can significantly affect the flavor. Opt for high-quality chocolate for the best taste.
For another fun variation of crunchy treats, you might enjoy making Cinnamon Toast Crunch Bars, which combine a different type of crunch with marshmallow sweetness.
Are Homemade Crunch Bars Healthier?
One of the best things about making your own Crunch Bars is that you can control the ingredients. Store-bought Crunch Bars can be high in sugar and include additives or preservatives, but when making them at home, you can adjust the recipe to fit your dietary needs.
Healthier Ingredient Options:
- Use Dark Chocolate: Opt for dark chocolate instead of milk chocolate to reduce sugar and add antioxidants.
- Add Seeds or Nuts: Mixing in nutrient-rich seeds like chia or sunflower seeds can boost the nutritional content of your bars.
- Control Sugar: You can reduce the amount of sugar by using unsweetened or low-sugar chocolate options.
If you’re looking for other nutritious snacks, check out Fit Crunch Bars, which combine great taste with high protein content for those who want a healthier, high-protein option.
Frequently Asked Questions (FAQ)
1. How long do homemade Crunch Bars last?
Homemade Crunch Bars can be stored in an airtight container in the refrigerator for up to two weeks. If you prefer room-temperature storage, they’ll last for about one week, though they may lose some of their crispiness.
2. Can I use different cereals for this recipe?
Absolutely! While puffed rice is traditional for Crunch Bars, you can experiment with other cereals like puffed quinoa or puffed millet for a unique twist.
3. Can I make these bars vegan?
Yes, by using dairy-free chocolate chips and ensuring the cereal is vegan-friendly, you can make vegan Crunch Bars that taste just as delicious.
Conclusion: Why Homemade Crunch Bars Are a Must-Try
Making your own homemade Crunch Bars is not only fun and easy but also allows you to control the ingredients and customize the flavor to your liking. Whether you enjoy them as a nostalgic treat or get creative with new ingredients, homemade Crunch Bars are a satisfying snack for any occasion. Plus, they make for a great DIY gift!
Final Verdict: Try making your own Crunch Bars and enjoy a fresh, customizable version of this classic snack.

1 thought on “Homemade Crunch Bars: A Delicious DIY Recipe”