
Delicious Chicken Enchiladas

Tender shredded chicken tossed with zesty red sauce and melted Monterey Jack, wrapped in soft flour tortillas for a comforting Mexican main course.
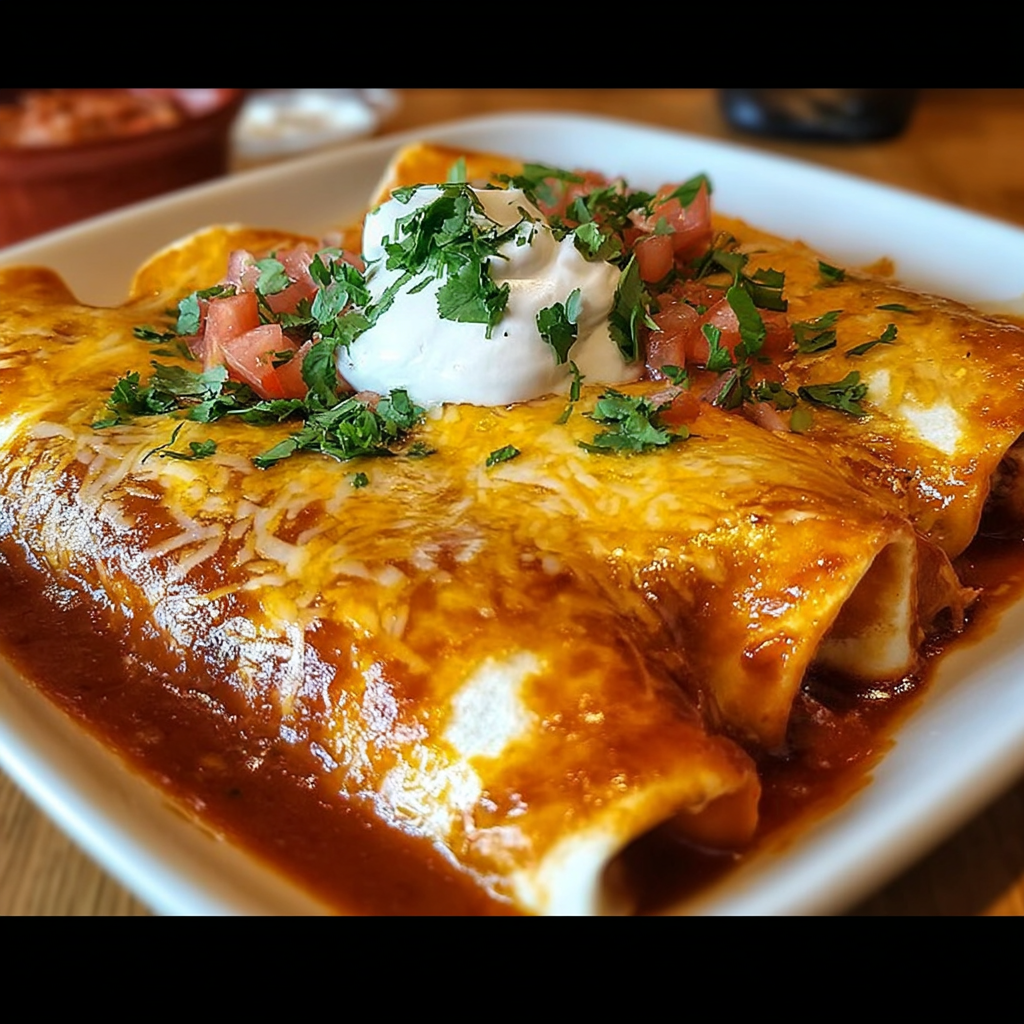
This dish of chicken enchiladas has been a cornerstone of my weeknight repertoire for years. I first pulled this combination together after buying a rotisserie chicken on a busy afternoon and wanting something faster than tacos but more comforting than a salad. The result was warmly spiced shredded chicken rolled into soft flour tortillas, bathed in a tangy red enchilada sauce and crowned with gooey Monterey Jack cheese. The contrast of tender meat, slightly tangy sauce, and the creamy melted cheese quickly made it a family favorite.
What makes these enchiladas special is their balance: they are simple enough for a weekday dinner yet showy enough for guests. The texture is layered — soft tortillas that hold together without becoming soggy, pockets of cheese that stretch when you lift a fork, and chicken flavored with cumin and chili powder that adds depth without overwhelming the sauce. I often find the kitchen filled with the aroma of garlic and toasted spices while they bake, and it’s a smell that always draws everyone to the table.
Why You'll Love This Recipe
- Ready in about 45 minutes from start to finish, making it perfect for busy weeknights when you want something comforting but not time-consuming.
- Uses pantry-friendly staples such as canned enchilada sauce and spices, and plays beautifully with a cooked rotisserie chicken to save time.
- Highly adaptable: swap proteins or go vegetarian with canned beans, and adjust the heat level by choosing mild or spicy sauce.
- Hands-on prep is minimal — most of the work is shredding and rolling, which is great if you want to involve family members in assembly.
- Make-ahead friendly: assemble the tray and refrigerate for up to 24 hours or freeze for longer storage before baking.
I remember the first time I served these to a small crowd at a casual Sunday dinner; everyone reached for seconds, and a neighbor asked for the recipe the next day. Using a rotisserie bird saves at least 20 minutes, and the store-bought enchilada sauce keeps the flavor reliable while allowing you to tweak spices to taste.
Ingredients
- Cooked shredded chicken (2 cups): I usually use meat from a 2-pound rotisserie chicken for convenience; it stays moist and has great flavor. If cooking from raw, bake or poach breasts or thighs until 165°F and shred while warm.
- Red enchilada sauce (1 can, 10 oz): Choose mild or spicy based on preference; brands like La Victoria or Old El Paso are dependable. This sauce is the primary seasoning, so pick one you enjoy straight from the jar.
- Monterey Jack cheese (2 cups shredded): This cheese melts smoothly and adds creaminess. Pre-shredded is fine, but freshly shredded melts better and has less anti-caking residue.
- Flour tortillas (8 pieces): Use 8- to 8.5-inch soft tortillas for easy rolling. Warm them briefly to make them pliable and prevent cracking when you roll.
- Vegetable oil (1 tablespoon): Used to sauté aromatics. Can substitute with neutral oil like canola or light olive oil.
- Onion (1 small, chopped): Adds sweetness and body to the filling when sautéed until translucent.
- Garlic (2 cloves, minced): Builds aroma and depth; cook until fragrant but not browned to avoid bitterness.
- Cumin (1 teaspoon) and chili powder (1 teaspoon): These warm spices anchor the chicken flavor; adjust to your heat tolerance.
- Salt and pepper (to taste): Small amounts at each step help layer seasoning so the filling and sauce both pop.
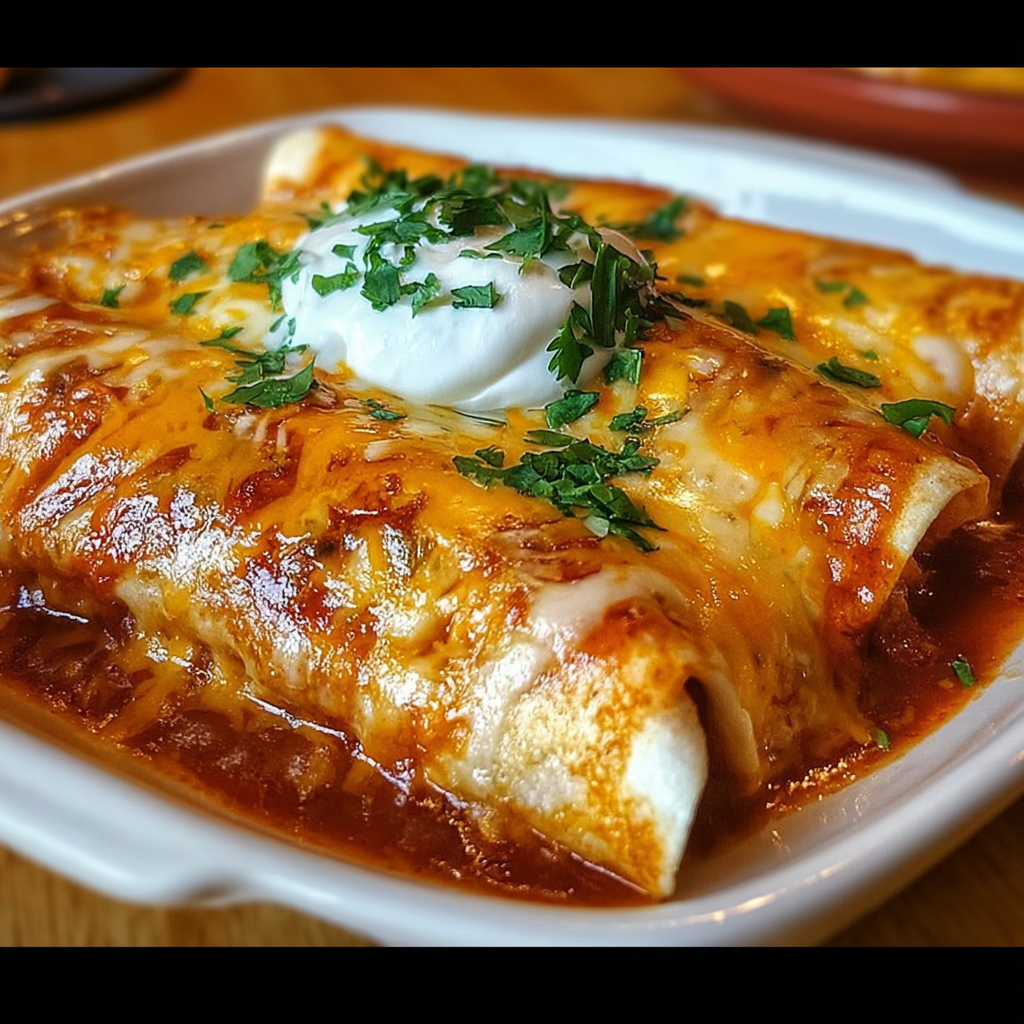
- Garnish and serving: Chopped cilantro and sour cream for brightness and cooling contrast to the warm spices.
Instructions
Prepare the protein: Start with two cups of cooked, shredded chicken. If using raw chicken, roast boneless skinless thighs or breasts at 400°F for 20-25 minutes until internal temperature reaches 165°F, let rest, then shred with two forks for best texture. Shred into bite-sized pieces so each bite has even distribution of sauce and spice. Sauté aromatics: Heat 1 tablespoon vegetable oil in a skillet over medium heat. Add the chopped onion and cook until soft and translucent, about 3 to 4 minutes. Add minced garlic and stir for 30 seconds until fragrant. Avoid browning the garlic to prevent bitterness. Flavor the chicken: Add the shredded chicken to the skillet with the softened onion and garlic. Sprinkle 1 teaspoon cumin, 1 teaspoon chili powder, and a pinch of salt and pepper. Stir and cook for 3 to 5 minutes to marry the flavors; the spices will bloom in the hot oil and coat the chicken evenly. Prepare the baking dish: Pour a thin layer of enchilada sauce into the bottom of a 9x13-inch baking dish to prevent sticking and provide a saucy base. This also helps the tortillas adhere to the pan and creates saucy pockets at the bottom. Assemble the rolls: Warm tortillas for 10 to 15 seconds per side in a dry skillet or microwave covered with a damp towel for 20 seconds to make them pliable. Spoon a generous portion of the chicken mixture into the center of each tortilla, add a sprinkle of shredded cheese, then roll tightly and place seam-side down in the prepared dish. Top and bake: Pour the remaining enchilada sauce evenly over the rolled tortillas, then scatter the remaining shredded cheese on top. Cover with foil and bake in a preheated oven at 375°F for 20 to 25 minutes. Remove the foil and bake another 5 to 10 minutes until the cheese is bubbly and lightly golden. Rest and garnish: Allow the tray to rest for 5 minutes after baking so the filling settles and is easier to serve. Garnish with chopped cilantro and offer sour cream at the table for cooling contrast.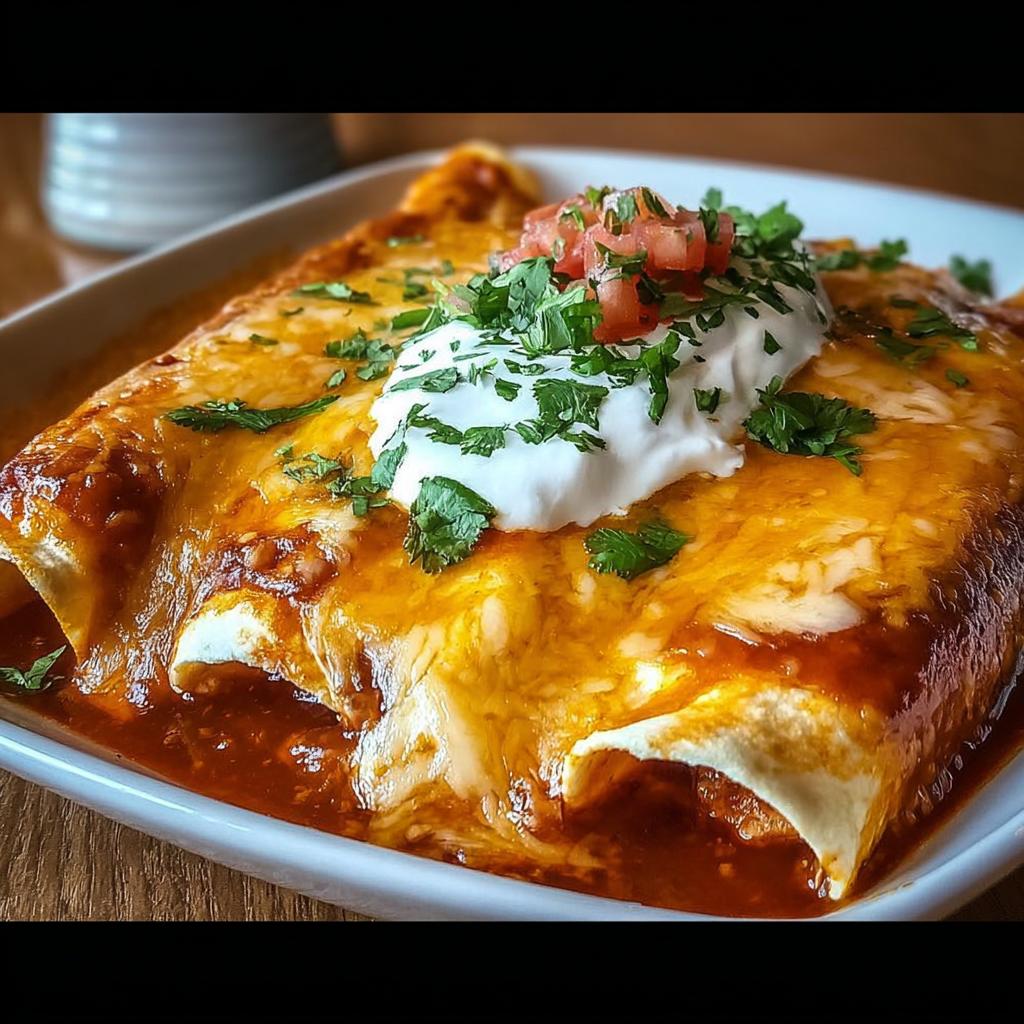
You Must Know
- This dish stores well in the refrigerator for up to four days when covered tightly with plastic wrap or in an airtight container.
- It freezes acceptably for up to three months; wrap the baking dish in foil and then plastic to protect against freezer burn, and bake from frozen adding 15 to 20 minutes to baking time.
- Swapping to corn tortillas will change texture and authenticity; warm corn tortillas and lightly oil them to reduce cracking when rolling.
- Nutrition per portion is roughly 400 calories; protein is high thanks to the chicken, and the cheese contributes the majority of fat and dairy content.
One of my favorite aspects of this tray-baked dish is how reliably it feeds a small crowd. I often assemble two pans for gatherings and bake them simultaneously; the kitchen fills with a comforting aroma and people begin passing plates around the counter. On busy nights I will shred chicken the day before and keep the tray refrigerated for quick baking after work.
Storage Tips
For short-term refrigeration, cool the prepared tray to room temperature and cover tightly; transfer leftovers to an airtight container to keep tortillas from becoming too soggy. Reheat single portions in a 350°F oven for 10 to 12 minutes or in the microwave at medium power in 30-second intervals to avoid rubbery cheese. For freezing, assemble the rolled tortillas in a freezer-safe baking dish, do not add the final cheese topping if you prefer, wrap well in foil, and label with the date. Thaw overnight in the refrigerator before baking for best texture.
Ingredient Substitutions
If you want to reduce dairy, use a melty vegan cheese substitute and omit sour cream at serving, though texture will differ. Swap shredded chicken for canned black beans or pinto beans for a vegetarian option; use 2 cups of well-drained beans and add 1 extra teaspoon of cumin for depth. For a spicier profile, add pickled jalapeños into the filling or mix a diced chipotle pepper into the sauce. Corn tortillas are more traditional and gluten-free, but they require warming and light oiling to avoid tearing.
Serving Suggestions
Serve enchiladas with a bright green salad, Mexican rice, or refried beans for a balanced plate. Garnish with chopped cilantro, thinly sliced radishes for crunch, and a dollop of full-fat sour cream or crema. Fresh lime wedges brighten the flavors when squeezed over the top, and a side of pickled onions adds acid to cut through the richness. For a festive table, place bowls of chopped avocado, pico de gallo, and sliced jalapeños for guests to customize their plates.
Cultural Background
Enchiladas trace their roots to ancient Mesoamerican cuisine where corn tortillas were filled and sauced. The modern concept — tortillas rolled around a filling and covered with a chili-based sauce — evolved over centuries with regional variations across Mexico and the American Southwest. Flour tortillas and Monterey Jack cheese reflect Tex-Mex influences, while traditional versions often use corn tortillas and local cheeses. This adaptation blends convenience and comfort while honoring the dish’s layered history.
Meal Prep Tips
For weekly meal prep, shred a whole rotisserie chicken and portion into 2-cup bags; you can assemble individual trays of two enchiladas each and refrigerate for easy lunches or dinners. Pre-shred cheese and store in an airtight container to speed assembly. If planning to bake later, omit the final cheese topping and only add it when baking to preserve freshness. Label containers with bake-from-chill or bake-from-frozen times to streamline cooking on busy days.
Success Stories
I’ve served this dish at potlucks where it disappeared within minutes, and once a friend told me it became her go-to recipe for moving day dinners because it’s filling and easy to reheat. Another family member loves adding roasted corn to the filling for texture, which became a welcome twist on the original. These stories remind me that simple, adaptable recipes often become the most beloved.
Make this dish your own: tweak the spice level, change the filling, or add fresh garnishes. The joy comes from sharing warm food and watching it bring people together at the table.
Pro Tips
Warm tortillas before rolling to prevent cracking and make them more pliable.
Shred your own cheese for better melt and flavor compared to pre-shredded varieties.
Reserve a thin layer of sauce on the bottom of the pan to prevent tortillas from sticking and to create saucy pockets underneath.
This nourishing delicious chicken enchiladas recipe is sure to be a staple in your kitchen. Enjoy every moist, high protein slice — it is perfect for breakfast or as a wholesome snack any time.
FAQs about Recipes
Can I assemble enchiladas ahead of time?
Yes. Assemble the pan, cover tightly, and refrigerate for up to 24 hours. Add 5 to 10 minutes to baking time if baking straight from chilled.
Can these be frozen?
Freeze the assembled tray before baking for up to three months. Thaw overnight and bake at 375°F for 25 to 30 minutes or until heated through.
Tags
Delicious Chicken Enchiladas
This Delicious Chicken Enchiladas recipe makes perfectly juicy, tender, and flavorful steak every time! Serve with potatoes and a side salad for an unforgettable dinner in under 30 minutes.
Ingredients
Filling
Sauce & Assembly
Garnish
Instructions
Prepare and shred the chicken
If using raw chicken, roast or poach until an internal temperature of 165°F is reached, then let rest and shred with two forks. Using a rotisserie chicken saves time and yields juicy shreds.
Sauté aromatics
Heat 1 tablespoon oil in a skillet over medium heat. Cook chopped onion until translucent, about 3 to 4 minutes, then add minced garlic and stir until fragrant for about 30 seconds.
Season the filling
Add shredded chicken to the skillet, sprinkle with 1 teaspoon cumin, 1 teaspoon chili powder, and season with salt and pepper. Cook 3 to 5 minutes to allow spices to bloom.
Assemble the enchiladas
Spread a thin layer of enchilada sauce in a 9x13-inch baking dish. Warm tortillas, fill each with chicken mixture and a sprinkle of cheese, roll tightly, and place seam side down in the dish.
Top and bake
Pour remaining sauce over the rolls and top with remaining cheese. Cover with foil and bake at 375°F for 20 to 25 minutes, then uncover and bake 5 to 10 minutes until cheese is bubbly.
Rest and serve
Let rest for 5 minutes after baking. Garnish with chopped cilantro and serve with sour cream and lime wedges if desired.
Last Step: Please leave a rating and comment letting us know how you liked this recipe! This helps our business to thrive and continue providing free, high-quality recipes for you.
Nutrition
Did You Make This?
Leave a comment & rating below or tag
@royalrecipe on social media!
Categories:
You might also like...
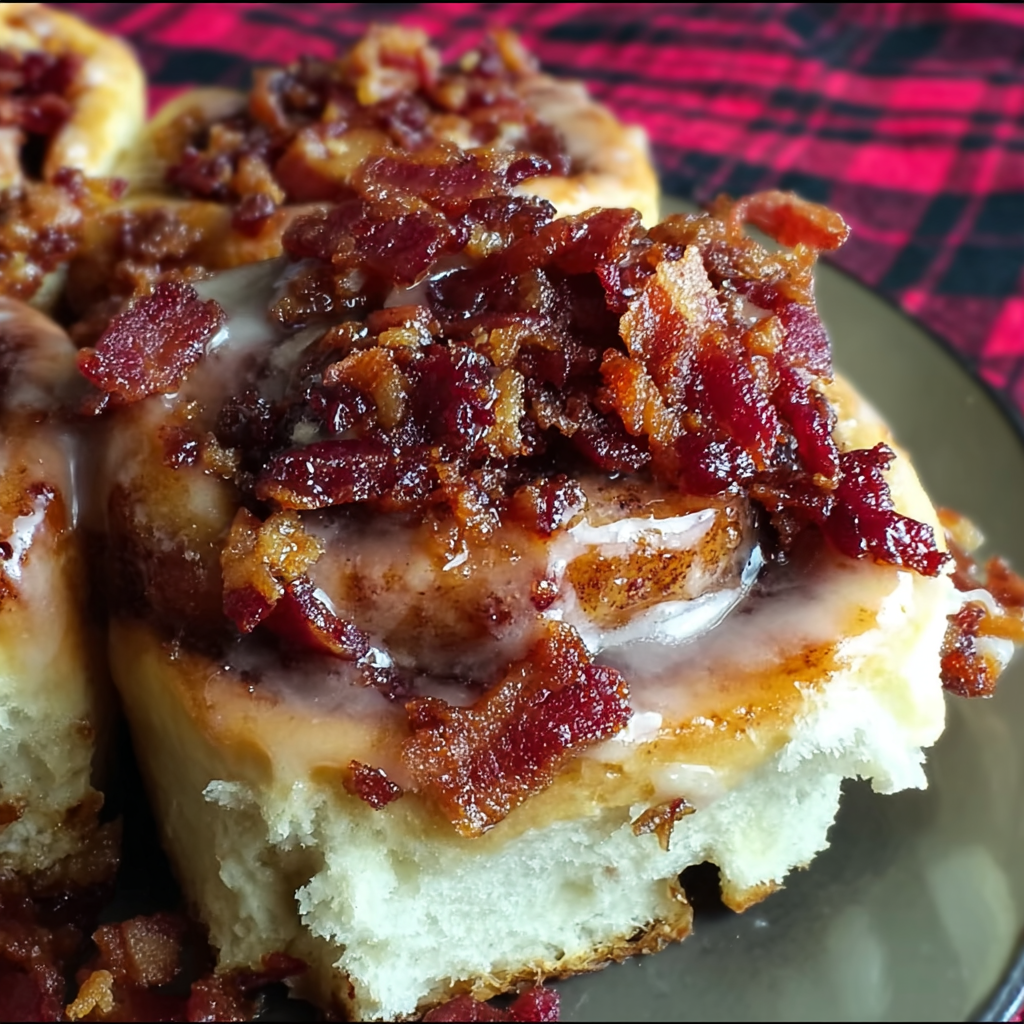
Easy Maple Bacon Cinnamon Rolls
Store-bought cinnamon rolls get a gourmet upgrade with candied bacon and a maple syrup glaze for the perfect fall breakfast—quick, indulgent, and crowd-pleasing.

Bacon Cheeseburger Grilled Cheese Casserole
A decadent comfort-food mashup: layers of bread, savory cheeseburger filling, and gooey melted cheese baked until golden. Perfect for family dinners and potlucks.
Cookie Butter Caramel Cheesecake
A velvety cheesecake infused with cookie butter on a Biscoff crust, finished with warm caramel sauce and cloudlike whipped cream. The perfect indulgence for cookie butter lovers.
Did You Make This?
Leave a comment & rating below or tag @royalrecipe on social media!
Rate This Recipe
Share This Recipe
Enjoyed this recipe? Share it with friends and family, and don't forget to leave a review!
Comments (1)
This recipe looks amazing! Can't wait to try it.
Comments are stored locally in your browser. Server comments are displayed alongside your local comments.
Hi, I'm Natalie!
What's Popular
Get My 30-Minute Meals email series!
Quick and easy dinner ideas delivered to your inbox.